Correct exposure is a starting point, not a rule. Pushing a photograph darker or brighter on purpose is one of the simplest ways to change how it feels.
Every camera meter has the same goal. It looks at the scene, averages what it sees and tries to turn everything into a middle gray. We have written before about why your light meter is wrong for black and white, and about the power of underexposure on its own. This time we want to look at both directions together, darker and brighter, because the real skill is not knowing how to do either one. It is knowing which one a particular photograph needs.
Exposure is a mood decision
We tend to think of exposure as a technical setting, something to get right and then forget about. But the overall brightness of a black and white photograph does more to set its mood than almost anything else. Push a picture darker and it gains weight. It feels more serious, more private, more mysterious, sometimes more dramatic. Push it brighter and it feels lighter in every sense, airy, calm, soft, sometimes fragile or even a little lonely. The same scene exposed two different ways can tell two completely different stories, and the meter has no idea which one we want to tell.
When to go darker
Underexposure works best when there is a clear source of light in the scene and something worth lighting. A face by a window, a figure passing under a streetlight, a shaft of sun cutting across a dark alley. Letting the rest of the frame fall into shadow pushes all the attention onto the lit part and hides whatever clutter we did not want anyway. It suits evening and night, interiors, rainy streets and any subject where we want the viewer to lean in. In the first photograph below, a man stands in a narrow slice of sunlight while almost everything around him falls to black. Exposed for the street as a whole, it would be an ordinary scene. Exposed for the light on him, it becomes a moment.
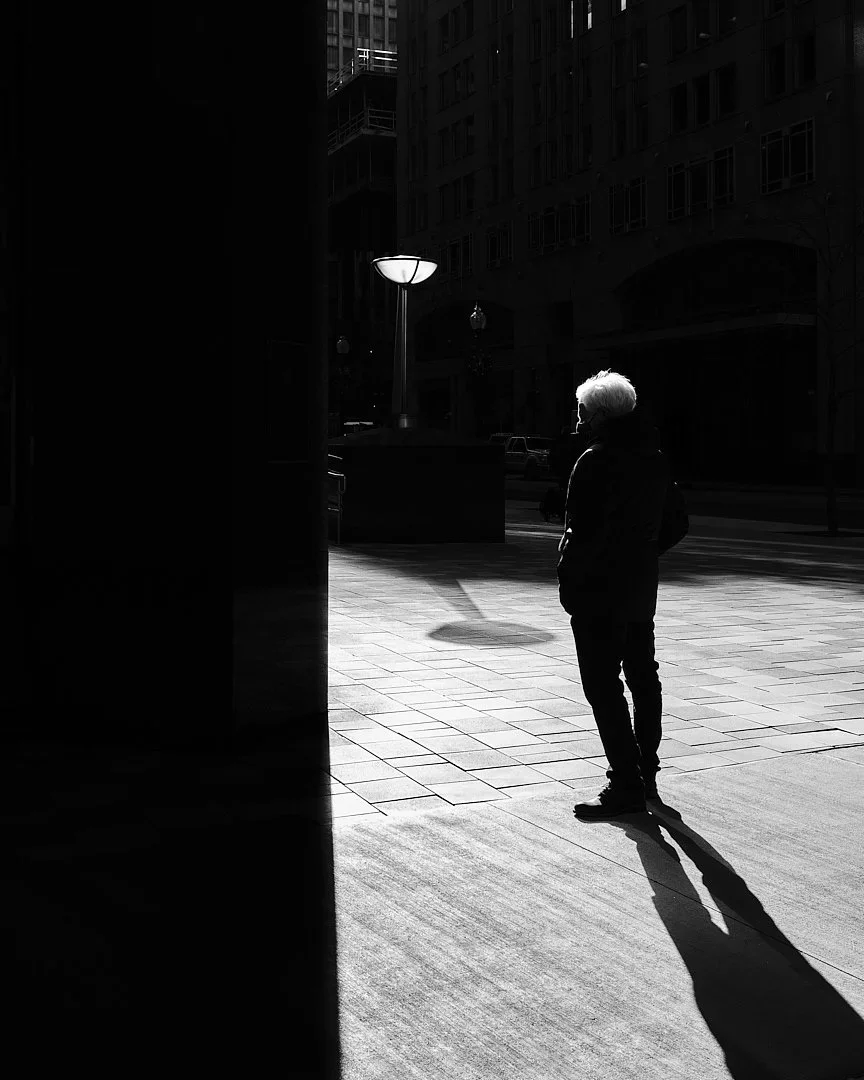
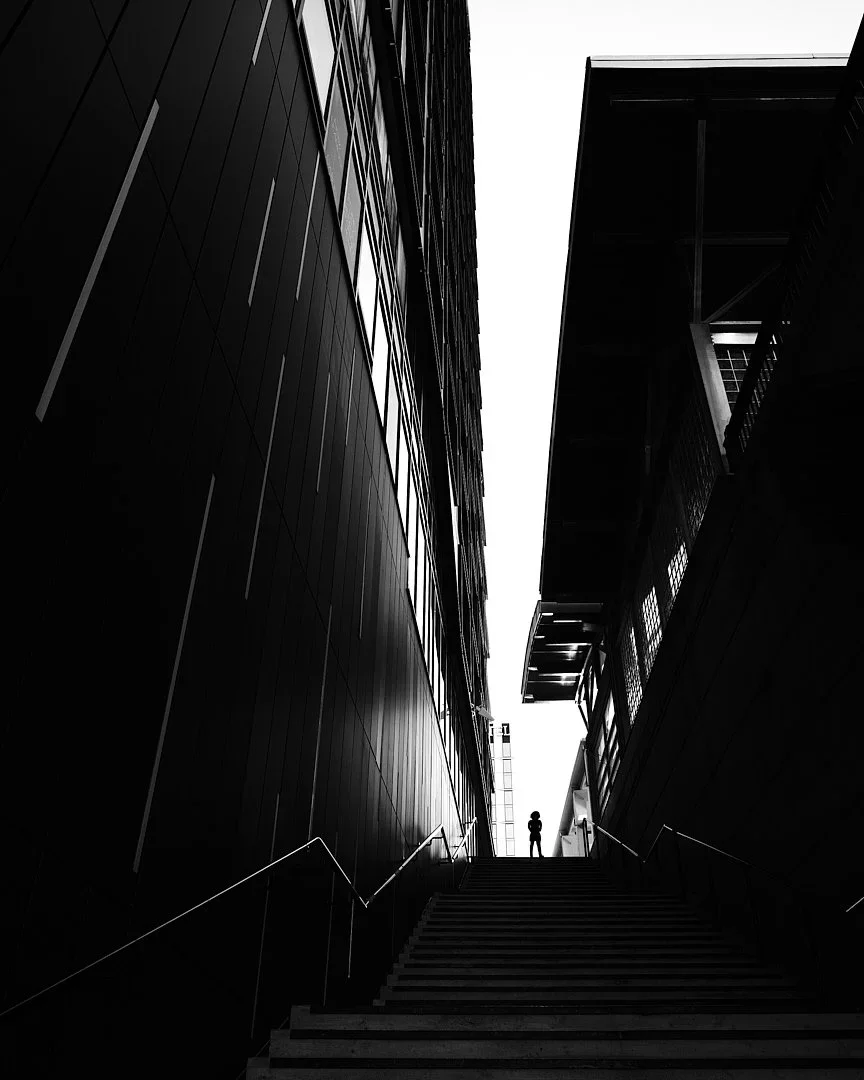
Going darker is also a way of simplifying. When the shadows swallow detail, the photograph becomes more about shapes and silhouettes than surfaces, and black and white is at its strongest when it is working with shape.
When to go brighter
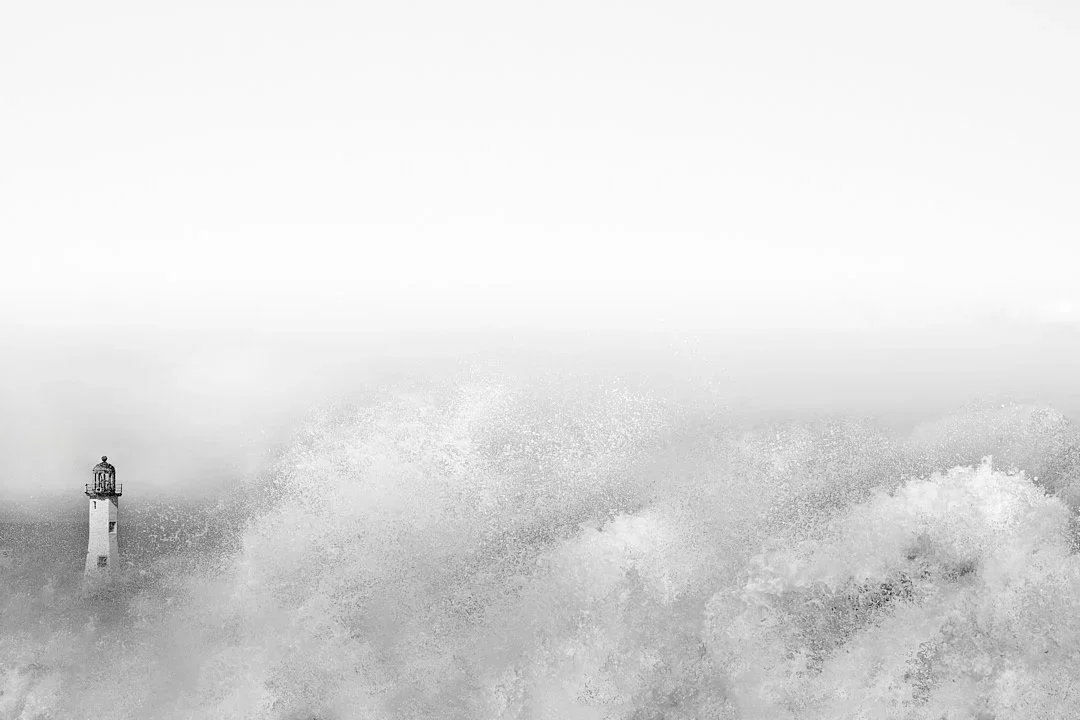
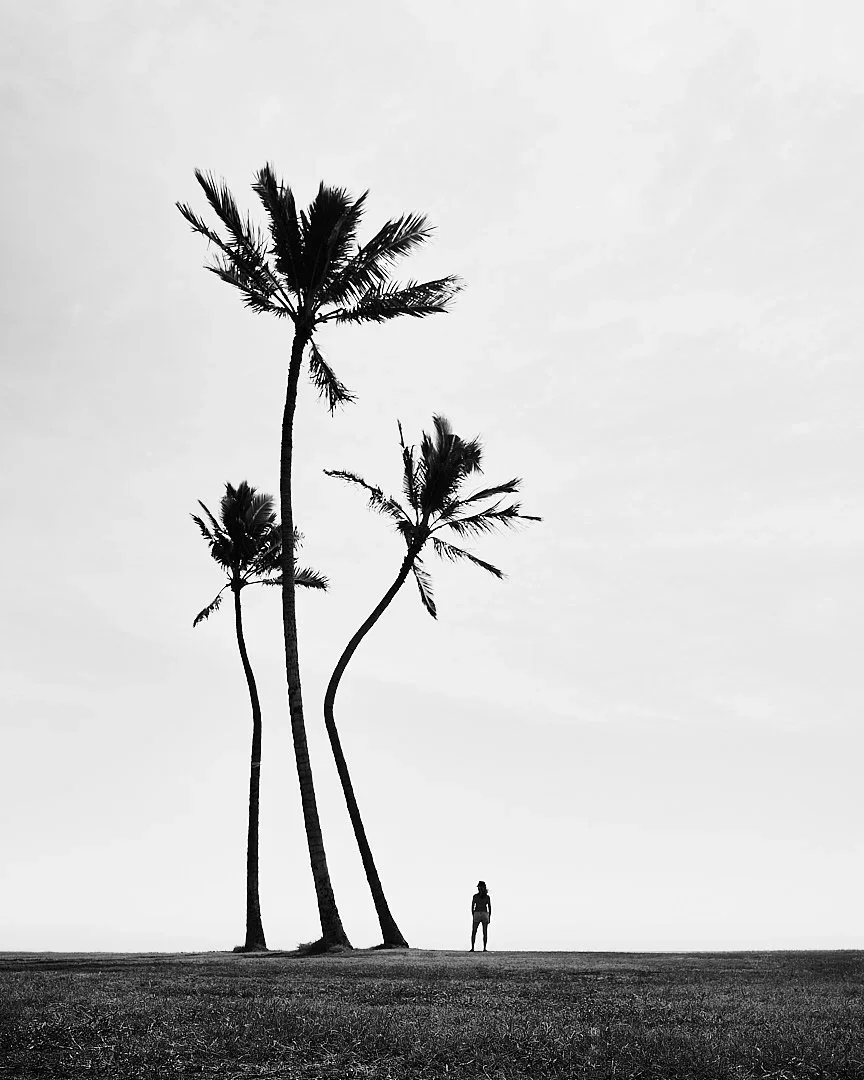
Overexposure, done on purpose, is usually called high key, and it is far less common in black and white than it should be. It works best when the scene is already light and soft, fog, snow, an overcast beach, white walls, pale skin in gentle window light. Instead of fighting to hold every bit of texture in those bright areas, we let them drift toward white and allow the few darker elements, a tree trunk, a pair of eyes, a figure in the distance, to carry the picture. The result can feel quiet and almost weightless. It is a wonderful way to photograph solitude, calm or tenderness, and it strips a frame down to its essentials just as effectively as shadow does, only in the other direction.
How to actually do it
The simplest tool is the exposure compensation dial. Dialing in a stop or two in either direction tells the camera to stop averaging and follow our lead. Spot metering gives even more control. Meter the one tone that matters most, a face or a bright sky, and decide exactly where it should sit. That is the heart of the Zone System, and it works just as well on a digital camera as it did on film.
There is one important difference between the two directions on a digital camera. A sensor handles highlights badly. Once a bright area is pushed past a certain point it becomes pure white with no detail left, and nothing in editing can bring it back. Shadows are more forgiving, although lifting them a long way in editing brings up noise. So for a bright, high key look, it is usually safer to expose so the brightest important area keeps a little detail, then lift the whole picture in editing. For a dark look, exposing darker in the camera is fine, as long as we are confident we want those shadows to stay dark. Film works the other way around. Negative film tolerates overexposure well but loses shadow detail quickly when underexposed, which is where the old advice to expose for the shadows comes from.
Decide what has to survive
Whichever way we go, one question makes the decision much easier. Which part of this picture has to keep its detail? In a dark photograph, it might be the lit side of a face or the glint of light on a wet street. In a bright one, it might be a pair of eyes or the dark shape of a single tree. Everything else is allowed to go. Once we know what has to survive, we can push the rest as far as the mood needs and trust that the photograph will still hold together.
A choice, not a mistake
The difference between a badly exposed photograph and a beautifully dark or bright one is not really the histogram. It is intent. A viewer can feel whether the darkness was chosen or whether the light simply ran out. Deliberate exposure shows in the way the important part of the frame is protected, in how consistent the tones are and in how well the mood suits the subject.
The meter will always give us its best guess at average. Most of the photographs worth keeping are not average, and learning when to push away from the middle, and which way, is one of the quickest ways to make that difference visible.
All photographs by Darren Pellegrino. Featured image: Spot Pond in fog, and North Station, Boston.