
Everything we would tell somebody who has just decided to try it, in the order that actually matters.
Black and white is the oldest way to make a photograph and still the hardest one to fake. Nothing in it is rescued by a nice color. There is no sunset doing the work on our behalf. What is left is light, shape, tone, and whatever we actually noticed.
Which is why it is worth starting properly rather than by pressing a button marked mono. Here is the whole thing in the order that matters, which is not the order most guides give it in.
Decide before you shoot, not afterward
The most common way a beginner’s black and white photograph fails is that it was a color photograph right up until the last minute.
We take the picture, we look at it later, the color is a little disappointing, and we try black and white to rescue it. Occasionally that works. Usually it produces a gray version of a photograph that was not working, because the thing that was wrong with it was never the color.
A photograph made for black and white is composed differently from the beginning. We stand somewhere else. We wait for different light. We leave out things we would have kept, and we keep things that in color would have read as clutter. None of those decisions can be made at a computer three days later.
So the first habit is the only one that really matters. Decide at the camera, because black and white is not a filter.
Color becomes brightness, and that is the whole problem
This is the one that catches everybody once and then never again.
When color is removed, every color in the scene becomes a shade of gray according to how bright it was, not how different it looked. A red apple sitting on green grass is an obvious, high contrast photograph in color. In black and white it can be close to invisible, because a mid red and a mid green are about the same brightness. The apple and the grass land on nearly the same gray and the picture collapses.
This is why some scenes survive the conversion and others die on the table. What survives is a difference in brightness, not a difference in hue. A dark coat against a pale wall survives. A white dog on wet asphalt survives. Two saturated colors of similar brightness do not.
Once we are looking for brightness instead of color, we are seeing in black and white. Everything else in this guide is detail.
Make the camera show you
There is a setting on almost every camera made in the last fifteen years that will do more for a beginner than any lens.
Set the picture profile, film simulation or creative style to monochrome, and set the file format to raw.
The camera now shows us a gray image in the viewfinder and on the back screen while it writes a full color raw file to the card. We compose in black and white, we see immediately when a scene has gone flat, and we still have every bit of color information waiting for us when we convert. There is no cost to it at all. It is the best setup a beginner can use and most people never find it.
On a phone the same trick lives one level up, in the accessibility settings, where a grayscale filter built for people with color vision differences turns the whole device into a monochrome viewfinder.
What to photograph while we are learning
Black and white rewards some subjects enormously and punishes others. Early on it is worth going where it is generous.
Go toward hard light. Early morning and late afternoon, when the sun is low and raking across a surface. Side light builds texture and throws long shadows, and shadow is our main structural material.
Go toward texture. Peeling paint, wet stone, rough bark, old brick, fabric, skin. Texture is almost pure tone and it photographs beautifully with the color gone.
Go toward shape. Strong silhouettes, a figure in a doorway, stairs, railings, the edge of a roof against the sky. Black and white simplifies, so subjects that are already simple come out stronger.
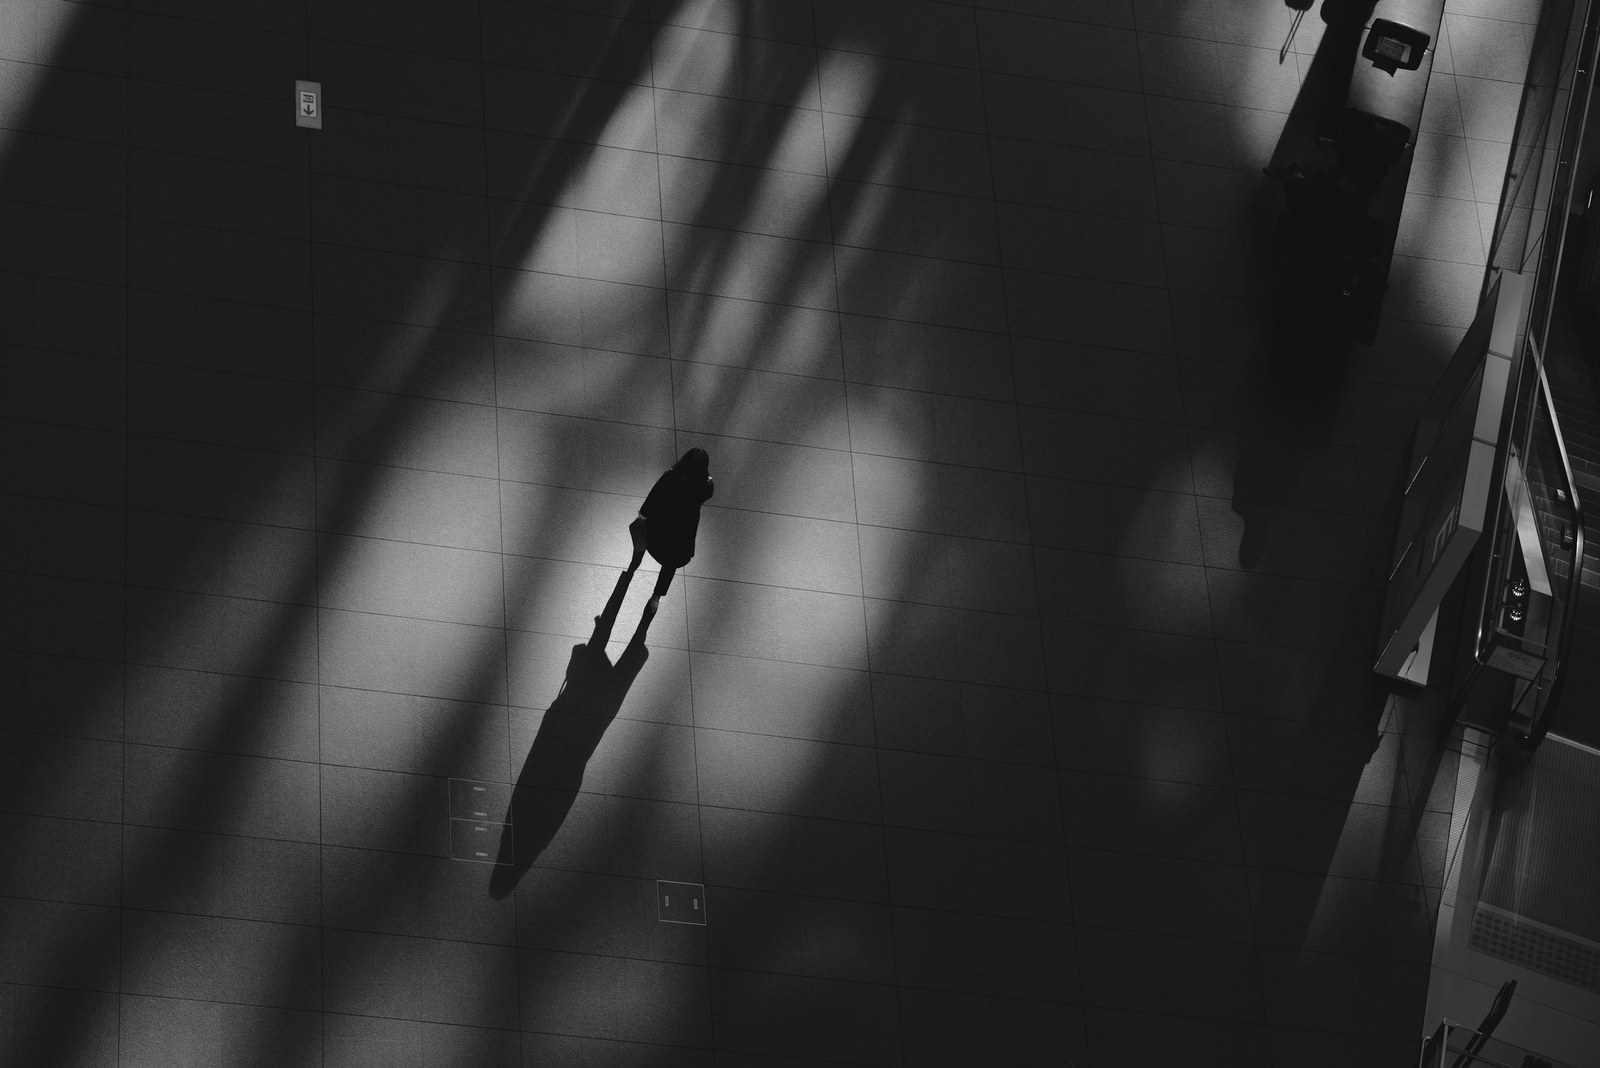
Go out in bad weather. Fog, rain and snow do half the work for us. Fog deletes the background, rain doubles every light source on the ground, and an overcast sky is a softbox the size of the city.
And leave two things alone for a while. Flat midday light, which gives us almost nothing to work with. And any scene we are drawn to because of its color, because that is precisely the scene that will not survive.
Expose for the thing that has to hold detail
A camera meter averages the scene and aims for middle gray, which is a fair guess in even light and a poor one in the light we are now deliberately looking for.
The working rule is short. Decide which part of the frame has to keep its detail, and expose for that. Usually it is the brightest important thing, a lit face, a white wall, a bright sky, because once a highlight is gone it is gone and no amount of editing brings it back. Shadows are far more forgiving. They can be lifted a little, and more often they should simply be left dark.
A black and white photograph is allowed to contain real black. Beginners tend to brighten everything until all of it is visible and all of it is gray. Resist that.
Converting without flattening it
The worst conversion is the one every piece of software offers as a single click. Desaturate, or a button marked black and white. It takes the color out and leaves us with whatever gray values happen to fall out of the file.
The useful thing to understand is that the color has gone from the picture but is still sitting in the file. Every one of those grays came from a hue, and the software still knows which. So we can go to the color sliders, the HSL panel in Lightroom or the color editor in Capture One, and change how bright any original color renders in gray.
Darken the blue and a sky separates from its clouds. Lighten the orange and skin softens. This is the same thing film photographers did for a century with colored glass filters screwed onto the lens, and it is where nearly all the real control lives. It is worth learning properly, because the color editor is the most useful tool a monochrome photographer owns.
There is more than one route to a conversion, and each one leaves a different fingerprint.
Then shoot one subject for a month
The last piece of advice is the most likely to be ignored and the most useful.
Do not switch the camera to black and white forever and photograph everything. Pick one subject and stay with it for a month. One street. One room in the house. Hands. The walk to work. Whatever is close enough that we will actually go and do it.
A month on one subject teaches more than a year of everything, because by the third week we have used up the obvious pictures and we are forced into the ones that take noticing. That is the entire skill, and it is why starting a first project beats collecting single frames.
None of this needs anything we do not already own. The camera setting is free, the light is free, and the subject is probably within walking distance. The only thing black and white really asks of us is that we decide before we press the shutter rather than afterward.